
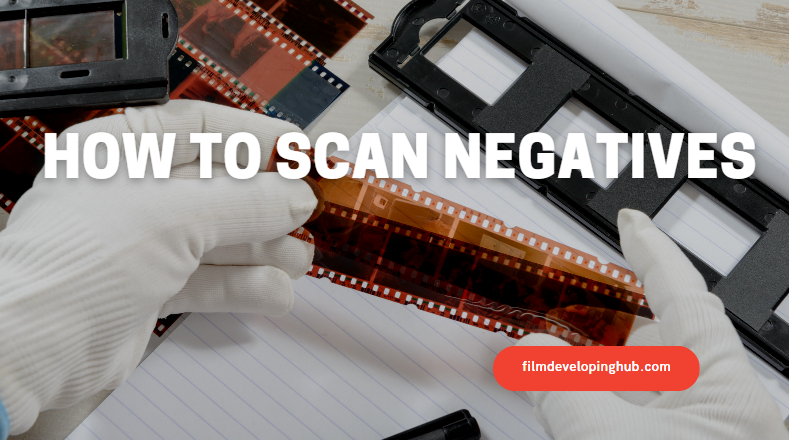
In the world of photography, negatives hold immense value as they are the original, unchanged record of a captured moment.
However, with advancements in technology and the shift towards digital media, it becomes crucial to scan film and convert these precious negatives into digital formats.
Scanning negatives not only helps preserve them but also opens up a world of possibilities for sharing, editing, and reprinting.
Whether you have negatives from a 35mm film or other formats, this guide provides a detailed look at eight methods to get your negatives scanned effectively.
Method 1: Using a Flatbed Scanner with a Transparency Unit
Flatbed scanners with transparency units are specially designed for scanning photo negatives. Unlike a regular flatbed scanner, these units come equipped with a separate light source that shines through the negatives, making them perfect for scanning film negatives.
To start, you’ll need to ensure that your flatbed scanner has a transparency unit and can handle the negative’s size and format. Once confirmed, follow these steps:
Step 1: Preparing the Scanner and the Negative
First, clean your scanner’s glass surface to avoid dust particles or other debris from affecting your scan’s quality. A microfiber cloth or an air blower can do the job effectively. Also, use a pair of gloves while handling the negatives to avoid leaving fingerprints on them.
Now, remove any dust from the negative itself using a soft brush or a specialized film cleaning solution. Handle the negatives by their edges to avoid any unnecessary contact.
Step 2: Positioning the Negative
Once you have a clean scanner and negative, it’s time to position the negative on the scanner. Depending on the scanner model, you might need to place the negative inside a film holder.
In some cases, you may directly place the negatives on the scanner’s glass, with the emulsion side down (the emulsion side is usually duller). The film holder or the scanner’s instructions will indicate how to orient the negative.
Step 3: Scanning the Negative
Having positioned the negative correctly, proceed to the scanning process. On your computer, open the scanner’s software, select the option for scanning a negative, and follow the instructions. Most software allows adjusting settings such as resolution, size, color mode, and format.
After the scanner completes the initial preview scan, you can make any necessary adjustments such as cropping or changing brightness and contrast. Once you’re satisfied, proceed with the final scan.
Pros of Using a Flatbed Scanner with a Transparency Unit
- Affordability: Flatbed scanners with transparency units are generally more affordable than dedicated film scanners.
- Versatility: These scanners can handle various types of materials, not just film negatives.
- Quality: Thanks to the separate light source in the transparency unit, the quality of scans can be significantly better than a standard flatbed scanner.
Cons of Using a Flatbed Scanner with a Transparency Unit
- Time-consuming: Scanning negatives with a flatbed scanner can take longer than with a dedicated film scanner.
- Software limitations: The quality of your scans can also depend on the software you’re using, which might not offer the most advanced options for color correction and dust removal.
For more insights on flatbed scanners, check out our comprehensive guide on the best film developing services in Houston.
Method 2: Using a Dedicated Film Scanner

Dedicated film scanners are another excellent option for negative film scanning. As the name suggests, these devices are specifically built to scan film negatives, resulting in higher quality scans compared to general flatbed scanners.
Step 1: Preparing the Scanner and the Negative
Like with the flatbed scanner, start by cleaning the dedicated film scanner using an air blower or microfiber cloth. Similarly, handle the negatives carefully to avoid fingerprints and use a soft brush or film cleaning solution to remove dust.
Step 2: Positioning the Negative
Position the negative in the scanner’s film holder, ensuring it’s secure and flat.
Step 3: Scanning the Negative
Open the scanning software on your computer, select the negative scanning option, and adjust the settings as necessary. Preview the scan, make any required adjustments, and proceed with the final scan. The detailed instructions may vary depending on your scanner’s model.
Pros of Using a Dedicated Film Scanner
- Superior Quality: Dedicated film scanners often provide the highest quality scans. They have better resolution and color accuracy.
- Efficiency: These scanners can scan negatives faster than flatbed scanners.
- Automation: Some models can automatically scan a batch of negatives, saving you time.
Cons of Using a Dedicated Film Scanner
- Price: Dedicated film scanners can be quite expensive, especially high-end models.
- Limited versatility: As these scanners are specifically designed for scanning negatives, their use is more limited compared to flatbed scanners.
Interested in learning more about film developing? Explore the best film developing services in Atlanta, GA.
Method 3: Using a Digital Single-Lens Reflex (DSLR) or Mirrorless Camera with a Macro Lens
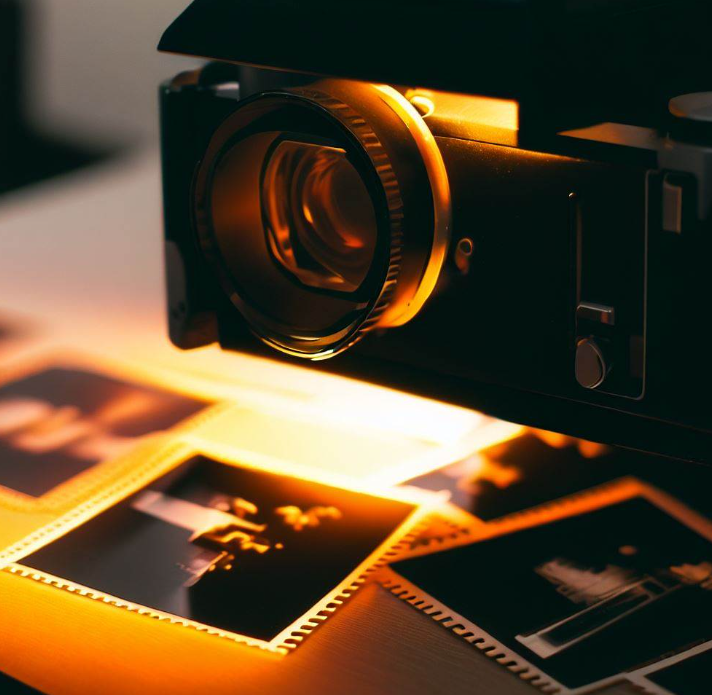
Using a DSLR or a mirrorless camera with a macro lens can also provide impressive results when scanning negatives. It might even outperform some dedicated scanners in terms of resolution and detail capture, especially if you’re using a high-end camera.
Step 1: Preparing Your Setup
Begin by setting up your camera on a tripod. Connect it to your computer or a remote control for easier operation. It’s best to use a macro lens with a 1:1 reproduction ratio for optimal results.
Step 2: Preparing and Positioning the Negative
Clean the negative thoroughly to avoid any specks of dust or fingerprints. Place the negative on a lightbox or a tablet with a blank white screen for backlighting.
Secure the negative onto the lightbox with some tape or clips, making sure that the entire negative is evenly illuminated, and no shadows or glares obscure it.
Step 3: Capturing the Negative
Now, place your camera in manual mode, and carefully focus on the negative. Adjust the camera settings as needed—ensure the ISO is at its lowest setting for best image quality, and use a small aperture (like f/8 or f/11) for sharp images.
Use a remote control or timer to avoid any camera shake while capturing the image.
Step 4: Editing the Captured Negative
After capturing the image, transfer it to your computer for editing. You’ll need to invert the colors to see a positive image and adjust the brightness, contrast, and color balance as needed.
While this method requires some photography knowledge, it can produce high-quality, 35mm film scans, surpassing even some dedicated film scanners.
Pros of Using a DSLR or Mirrorless Camera
- High Quality: If you have a high-end camera, you can get scans of superior quality, even better than some dedicated scanners.
- Control: This method gives you a high level of control over the scanning process, especially in terms of focus, exposure, and composition.
Cons of Using a DSLR or Mirrorless Camera
- Requires Additional Gear: You’ll need a lightbox or a tablet for backlighting, a tripod to stabilize the camera, and a macro lens for the best results.
- More Manual Work: Scanning negatives this way can be more time-consuming and requires more manual work.
- Requires Photographic Knowledge: Adjusting the camera settings and editing the negative requires some knowledge of photography and editing software.
Get some more insights into film developing and scanning by exploring the best film developing services in Dallas, TX.
Method 4: Using a Smartphone with a Film Scanning App and a Backlight Source
In today’s digital age, smartphones can do almost everything—including scanning negatives. With the right film scanning app, a suitable backlight source, and a steady hand, your smartphone can become an effective tool for film scans.
Step 1: Preparing Your Setup
Place a tablet, a lightbox, or any other device with a flat, white screen onto a flat surface. Secure the negative onto the screen using some tape or clips.
Step 2: Capturing the Negative
Open the film scanning app on your smartphone and position your phone so the negative fills the screen. Tap to focus and then capture the image.
Step 3: Editing the Captured Negative
Use the app’s tools to adjust the brightness, contrast, and color balance. You can also crop the image as needed.
While this method may not produce the same quality as a negative film scanner, it’s a readily accessible and inexpensive option for digitizing your old negatives.
Pros of Using a Smartphone with a Film Scanning App
- Convenience: You can scan negatives anywhere using your smartphone.
- Cost-effective: Most film scanning apps are free or relatively inexpensive.
Cons of Using a Smartphone with a Film Scanning App
- Quality: While convenient, the quality of scans from a smartphone app may not match that of dedicated scanners.
- Dependence on Lighting: Good results require good lighting conditions, which may not always be available.
- Stability: It might be hard to keep the phone steady while capturing the image, potentially leading to blurry scans.
Method 5: Harnessing the Power of a Flatbed Scanner with a Transparency Unit
The utilization of a flatbed scanner with a transparency unit shines as an exemplary tool when scanning negatives. The uniqueness of this method lies in the specific componentry of a flatbed scanner that is meticulously designed for scanning a diverse range of film types, including negatives.
Step 1: Setting Up Your Scanner for Optimal Results
Starting with a well-prepared scanner is crucial. Before embarking on your scanning journey, ensure your scanner is correctly set up and is in proper functioning condition. A crucial part of the preparation is ensuring that the scanner’s glass is absolutely clean and completely free of dust or fingerprints, as these can potentially interfere with the quality of the scans, causing undesired distortions or obscurities.
Step 2: Preparing Your Negatives for Scanning
The quality of your scans is intrinsically linked to the condition of your negatives. Dusty negatives or those imprinted with fingerprints will inevitably affect the end result. Therefore, using a microfiber cloth or a soft brush, gently but thoroughly remove any traces of dust or fingerprints from your negatives. This step is key to achieving high-quality scans.
Step 3: Accurate Positioning of Your Negatives on the Scanner
The next step is to carefully position your negatives in the dedicated transparency unit of the scanner. This step demands precision – the negatives need to be correctly oriented and should lie perfectly flat on the glass. Most scanners provide guides or frames to assist you in properly positioning your negatives, ensuring optimal alignment for the scanning process.
Step 4: Scanning Your Negatives to Digital Format
Once your negatives are properly positioned and ready, it’s time to actualize the scan. You will need to run your scanner’s software on your computer, choose the correct settings specifically for negatives or transparencies, and then initiate the scan to digitize your negatives.
Benefits of Using a Flatbed Scanner with a Transparency Unit
- High-quality scans: Scanners of this type are particularly tailored to scan film, and hence, they deliver superior results.
- Versatility: Their ability to handle different types and sizes of film makes them a go-to choice.
- Ease of use: For extensive tasks involving a large number of negatives, a flatbed scanner with a transparency unit can expedite the process and make it more efficient.
Drawbacks of Using a Flatbed Scanner with a Transparency Unit
- Cost: Flatbed scanners equipped with a transparency unit can be pricier than their regular counterparts.
- Space: They might require more space than other scanning methods.
- Maintenance: Regular cleaning of the scanner’s glass surface is necessary, and the unit may need periodic maintenance.
Method 6: Leverage a Digital Camera with a Macro Lens for Scanning
Using a digital camera paired with a macro lens for negative film scanning is an innovative and efficient method. This approach works exceptionally well with a DSLR or a mirrorless camera, as these camera types provide the necessary control over focus and exposure settings, critical for quality scanning.
Step 1: Setting Up Your Camera for Negative Scanning
To gear up for scanning photo negatives, begin by setting up your camera. Mount the camera securely on a tripod to ensure stability during the scanning process. Switch the camera to manual mode, which will allow you complete control over critical photographic parameters like focus, aperture, shutter speed, and ISO settings.
Step 2: Preparing Your Negatives for Scanning
As with all methods, pristine negatives are a prerequisite for high-quality scanning. Any dust particles or fingerprints on your negatives will manifest in your photos, potentially ruining them. Thus, dedicate time to clean your negatives meticulously before you initiate scanning.
Step 3: Capturing the Images
With your camera set and negatives primed for scanning, the next step is to capture the images. Achieve this by placing your negatives on a consistent light source, such as a lightbox or even a tablet. Make sure the negative is evenly illuminated and that the camera is perfectly focused before releasing the shutter.
Benefits of Using a Digital Camera with a Macro Lens
- High-quality images: A well-equipped DSLR or mirrorless camera with a macro lens can capture very detailed images, ensuring the high resolution of your scans.
- Speed: Compared to scanning with a flatbed scanner, this method can be considerably faster, especially when working with a large batch of negatives.
- Control: Using the manual mode gives you full control over the exposure settings, enabling you to capture optimal images.
Drawbacks of Using a Digital Camera with a Macro Lens
- Equipment requirements: This method necessitates a DSLR or mirrorless camera with a macro lens, which not everyone may have access to.
- Post-processing: The images will need to be processed afterward to invert the colors and adjust the contrast, which requires additional time and effort.
- Lighting: Achieving the right amount of light can be challenging and may necessitate additional equipment like a lightbox.
Method 7: Employing a Smartphone with a Macro Lens for Scanning Negatives
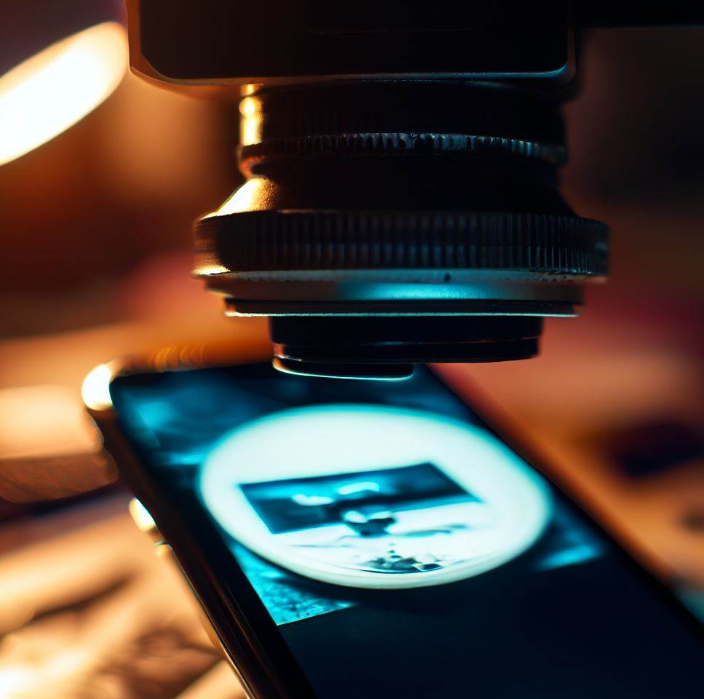
The ease and convenience of using a smartphone equipped with a macro lens to scan negatives cannot be overstated. This is a cost-effective method that, despite its simplicity, can yield surprisingly good results.
Step 1: Preparing Your Smartphone for Scanning
The first step is to attach a macro lens to your smartphone’s camera. Macro lenses designed for smartphones are generally inexpensive and are designed to be easily attachable and removable.
Step 2: Preparing Your Negatives for Scanning
As always, the cleanliness of your negatives is critical. Ensure there’s no dust or fingerprints on them. Utilize a microfiber cloth or a soft brush for this purpose, taking care to be gentle yet thorough in your cleaning.
Step 3: Capturing the Images
With your negatives cleaned and your smartphone equipped for scanning, you can now proceed to capture the images. Utilize your smartphone’s camera to take a photo
of each negative.
Benefits of Using a Smartphone with a Macro Lens
- Convenience: With your mobile device always at hand, this method can be performed anywhere, anytime, eliminating the need for a computer.
- Cost-effective: Smartphone macro lenses are relatively inexpensive, making this a budget-friendly option.
- Easy to use: This method is straightforward and doesn’t necessitate any technical expertise.
Drawbacks of Using a Smartphone with a Macro Lens
- Lower quality: Although the quality can be quite good, it may not rival what you’d achieve with a dedicated film scanner or DSLR camera.
- Limited control: Compared to a DSLR or mirrorless camera, smartphones offer fewer settings to control exposure and focus.
- Lighting: A good light source is necessary for this method. This may mean investing in a lightbox or similar device.
Method 8: Leveraging a Lightbox and a Scanner for Negative Scanning
A lightbox is an excellent and ideal tool for scanning film negatives. Paired with a standard flatbed scanner, a lightbox can deliver decent quality scans.
Step 1: Setting Up the Lightbox for Scanning
Begin by powering on the lightbox and adjusting the brightness settings to the maximum level. This ensures that the negatives are adequately illuminated for the scanning process.
Step 2: Preparing Your Negatives for Scanning
As with other methods, you should make sure your negatives are free from dust and fingerprints. Using a soft brush or microfiber cloth, clean your negatives carefully before proceeding to the scanning step.
Step 3: Scanning Your Negatives
With your lightbox providing optimal illumination and your negatives pristine and ready, place the negatives onto the lightbox and initiate the scanning process.
Benefits of Using a Lightbox and a Scanner
- Affordability: This method proves to be less expensive than purchasing a flatbed scanner with a transparency unit or a dedicated film scanner.
- Good quality scans: With careful attention to settings, this method can yield quite impressive results.
- Ease of use: This approach doesn’t require much technical know-how, making it accessible to many.
Drawbacks of Using a Lightbox and a Scanner
- Slower process: Compared to other methods, scanning with a lightbox can be somewhat time-consuming, especially if you’re dealing with a large batch of negatives.
- Post-processing: The scanned images will need some color correction and other adjustments in photo editing software, which can be a time-consuming task.
- Less control: This method offers less control over the scanning process compared to a dedicated film scanner or using a DSLR/mirrorless camera.
How to Edit Scanned Negatives
After scanning your negatives, you may want to edit them to improve their appearance or correct any flaws. You can use any photo editing software like Photoshop, GIMP, Lightroom, etc., to fine-tune the images. Here are some common steps involved in editing scanned negatives:
Inverting the Colors
Scanned negatives will usually result in a negative image. Inverting the colors turns this into a positive image.
Adjusting the White Balance
Your scanned images might have color casts due to different types of film or lighting conditions during the original photo capture. Adjusting the white balance helps achieve more accurate colors.
Adjusting the Exposure
If your scanned images are too dark or too bright, you can adjust the exposure to achieve more detail in the shadows and highlights.
Removing Dust and Scratches
Dust spots, scratches, or other imperfections can be removed using different editing tools, resulting in cleaner, more presentable images.
Cropping and Rotating
Unwanted borders, uneven edges, or incorrect orientation can be corrected by cropping and rotating the images.
Conclusion
Scanning negatives is a powerful way to digitize and breathe new life into your old film photos. Whether you use a dedicated scanner, a DSLR, or even a smartphone, each method has its own unique benefits and potential drawbacks.
By choosing the method that best suits your needs, you can enjoy rediscovering and sharing your precious memories. And, with some post-scanning editing, you can enhance these digital images further, correcting any flaws or enhancing the color and contrast.
Embark on the rewarding journey of preserving your past with scanning negatives, and enjoy your old memories in a new, digitized form. Happy scanning!
Frequently Asked Questions (FAQs)
- What type of scanner should I use for scanning film negatives?
Different scanners offer varied results when scanning negatives. Dedicated film scanners generally offer the highest quality and efficiency, but they can be expensive.
Flatbed scanners with transparency units are versatile and less expensive, but the scanning process can be more time-consuming. You can also use a DSLR or mirrorless camera with a macro lens, or even a smartphone with a film scanning app depending on your requirements and available resources. - How can I improve the quality of my scanned negatives?
Always ensure your negatives and scanner glass are clean before scanning. Use the highest resolution possible for your scans, and use the scanner’s software to make necessary adjustments like brightness, contrast, and color correction. - What software can I use for scanning and editing negatives?
The scanner you use will typically come with its own software. For further editing after scanning, software like Adobe Photoshop or Lightroom can be very useful. Various film scanning apps are also available for smartphones.

Neil Slater is a photographer, blogger, and passionate advocate of film development and camera technology. With a keen eye for detail and a talent for storytelling, Neil captures life’s fleeting moments through his lens.
He combines stunning imagery with captivating narratives, inspiring fellow photographers and readers alike. With a love for analog photography, Neil spends hours in his darkroom, meticulously developing film to reveal hidden stories. His exploration of various camera models, from vintage classics to modern marvels, fuels his creative vision.
As an educator, Neil shares his knowledge and empowers others to embark on their own photographic journeys. Through his work, Neil invites us to see the world through a unique lens and discover the beauty in everyday moments.